A Slight Deviation
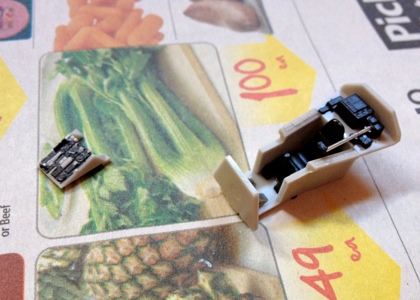
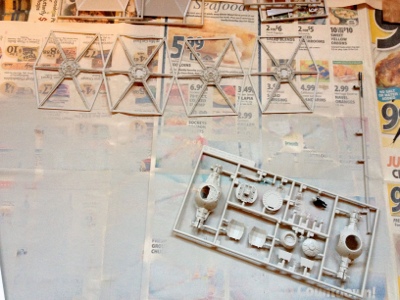
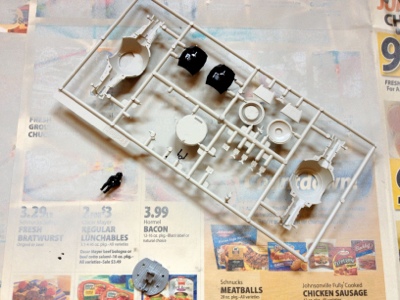
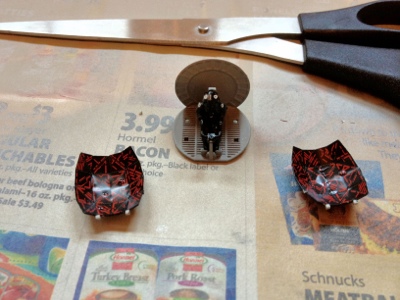
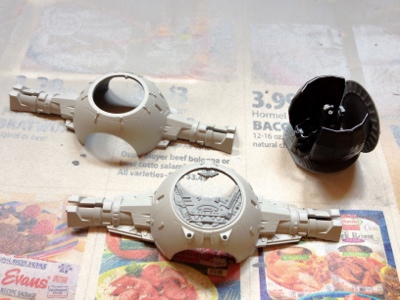
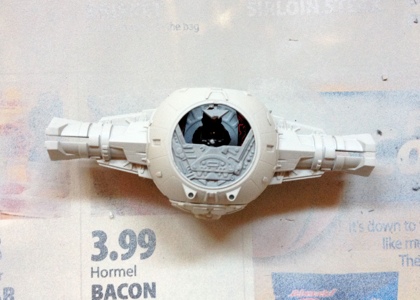
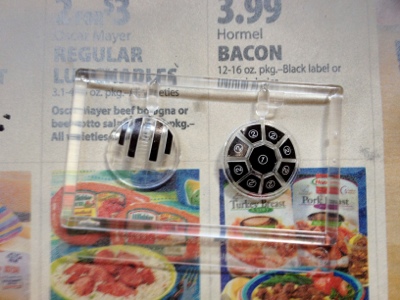
As I began work on the fuselage, I realized that the original mold color was decent, but without some sort of paint coat, the finished kit would look too “plasticy.” So, I reverted to my favorite, reliable spaceship base color, flat gull gray. The paint coat will add a little extra time and work, but I think it will result in an overall more realistic-looking ship. Work is coming along well, so here are some pictures of the current status.
These are the Droids You’re Looking For
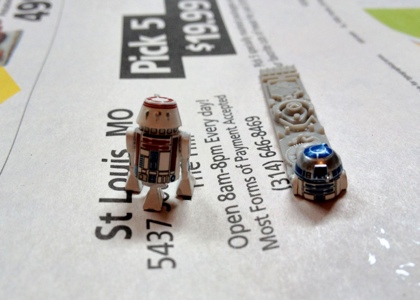
As usual with these model kits, the first steps involve painting figures and building the cockpit. I’m waiting to do the pilot figures until later, but I did build the droid figures. The first figure was the dome for R2-D2, which is attached to a portion of the ship. For the other figure I chose to build an R5 unit, which has a slightly different dome. Both required only a little painting, and the rest was decal.
Second, I began work on the cockpit. It was simple to build with a couple decals for the instrument panels. I didn’t paint a lot of detail, but I plan to go back later and add some more to the various panels.
Choices, Choices
The FineMolds 1/72 X-Wing kit is the first model I have constructed with so many options for how to build it. For example, you can choose the color scheme of Red 1, 2, 3, or 5. You can choose what the droid will look like based upon whose ship you build. You can choose open or closed cockpit, landing gear up or down, and once construction is complete, you can pose it with wings closed or open. Each one of these details makes this an excellent kit.
 I knew from the start that I wanted to make Luke’s X-Wing, Red 5. Luke has been my longtime favorite character, and his X-Wing ranks at the top, along with the Millenium Falcon, of my favorite Star Wars ships. As a result, I will use a specific set of decals and the droid will be painted and decaled to look like R2-D2. It would be an understatement to say that I am really excited to work on this kit, but to start off here are some initial pros and cons that I observed as I looked through the box.
Pros
-The choices. See above for more detail on that.
-The extra figures. In addition to the seated pilot and droid dome for the ship, there is also included a standing pilot figure and a full astromech droid, which you can paint in the style of an R2 unit or an R5 unit.
-The kit is molded in the basic X-Wing color. I will probably give it a coat of a flat base to make it easier to add decals and weathering effects.
-Lots of little detail parts. For a small scale, the detail is really incredible.
-The movable wings. I will count this as a positive now, in the hopes that it will work well. There is, however, the potential for this to add some serious problems and lead to the kit breaking.
Cons (as with most FineMolds kits I have encountered, there are very few of these)
-The small scale. Even with the great effort by FineMolds I mentioned earlier, you still lose a little detail when you work with such a small scale.
-The Japanese instructions. The older FineMolds kits all come with Japanese instructions only. Fortunately, you can find an English translation of the instructions here.
-The stand is kind of boring. I am not sure I am ready to start customizing a brand new stand, but I would like to keep my options open for possibly building a hangar diorama someday.
Should be a fun build, and I look forward to sharing my progress.
TIE-ing up Loose Ends
I have reached the end of the TIE Fighter kit, so I have several photos to share of the final build. First, however, I want to mention that I did not do a lot of weathering on this kit. In keeping with the spirit from my last post about the expendable nature of TIEs, I wanted to keep the final result looking fairly new and out of the shipyards. With no shields, there is very little chance for these ships to get much battle damage, so all I did was give the model a dark gray wash. This mainly helped bring out the details and shows that maybe this particular TIE saw a few more battles than his wingman.
On to the X-Wing next!
A Cheap and Easy Weapon
One of the many benefits of building model kits based on movie props is the chance to get into the brain of the movie’s creator and special effects guru. The TIE Fighter kit I am working on has been an excellent example of this. In the original Star Wars trilogy, TIE Fighters were a cheap way to churn out spaceships with little regard for quality or safety. The TIEs had no shields, which made them, and their pilots, expendable. Because they were cheap and easy to produce, the Empire could just continuously build more and more with little to no negative effect.
This creative idea from George Lucas and his team played out well as I was building this TIE model kit. The simple design and ease of construction mirrored the “real” TIEs, and as a result I felt a greater appreciation for the Lucasarts special effects team and for the physical way George Lucas’ ideas manifest.
With that little bit of philosophizing, here are some photos of the final stages of construction on the 1/72 TIE Fighter.

The final build of the cockpit, which is essentially all the whole ship is. A cockpit with some arms attached to hold the wings on.

The paint for the wings. Simple colors, simple design, and the kit was designed to make construction and painting very easy. The wings are easily the most distinguishing part of the ship.

Fully constructed TIE in the top right, display stand without paint on the top left, and two small stormtroopers at the bottom right with initial coat of white paint.
Back at it
It has been a while since I last updated because I have been out of the country for the last 2 weeks. I did a little work on the TIE kit before vacation but did not get a chance to update before we left. I was able to make some good process on the kit, so here are some highlights of what I have finished.
First, I spray painted almost the entire kit with a coat of flat gull gray, which is the same base I have used for several other Star Wars kits.
Once I finished that coat, I started working on the cockpit. The pilot just needed areas of flat black with gloss black details, and the detail of the inside of the cockpit was all decals. The scissors in the second photo show how small the scale is.
After the cockpit was finished, I started work on the mainframe. The frame was simple to construct, with two large pieces and a few small details to add on.
Finally, I had to paint the clear pieces without getting paint on the windows. Fortunately, the kit provided masks to fit the clear sections, but I was not able to get a tight seal on the edges and some of the paint bled onto the window panes. For now, here is a photo of the clear pieces with the masks.
I do not yet have a picture of the completed body, but now that I am back from vacation, I can get back to work in full force.


